
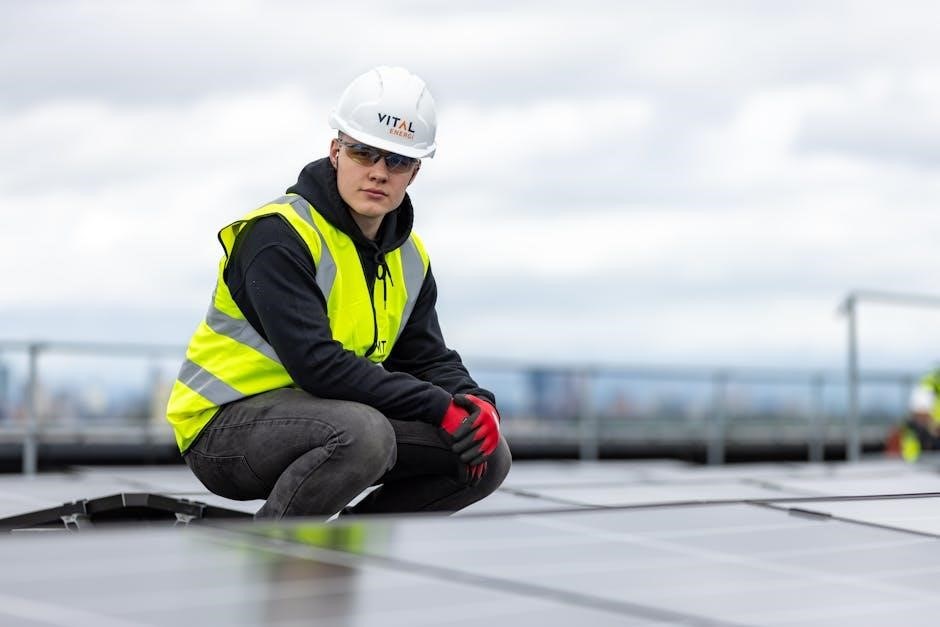
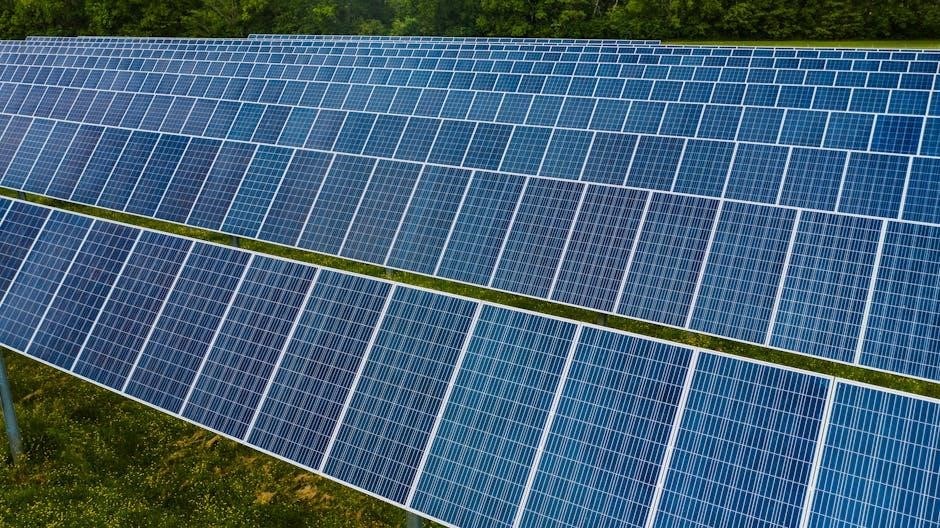
A solar panel installation diagram is a crucial guide for setting up photovoltaic systems․ It provides a visual representation of components, connections, and wiring, ensuring safe and efficient installation․ Whether for DIY projects or professional setups, the diagram acts as a roadmap, simplifying the process and minimizing errors․ Understanding it is key to optimizing energy output and system performance․

How to Read a Solar Panel Installation Diagram
Reading a solar panel installation diagram involves identifying components like panels, inverters, and batteries․ Start by locating the legend to understand symbols․ Trace connections between components to ensure proper wiring․ Pay attention to labels for voltage, current, and power ratings․ This ensures a safe and efficient installation, whether for DIY or professional use․
Understanding the Components
Understanding the components of a solar panel installation diagram is essential for a successful setup․ The diagram typically includes solar panels, which convert sunlight into electricity, and an inverter, which converts DC power to AC for household use․ Mounting structures ensure the panels are securely fixed, often on rooftops, at the optimal angle and direction․ A charge controller regulates power flow to the battery bank, preventing overcharging․ Batteries store excess energy for nighttime or cloudy days, while wiring connects all components safely․ Breakers and fuses protect the system from electrical surges․ The diagram also shows the connection to the electrical panel or grid, allowing excess energy to be fed back․ Each component plays a crucial role, and their proper arrangement ensures efficiency and safety․ By identifying and understanding these elements, installers can troubleshoot issues and optimize system performance․
Key Symbols and Notations
Solar panel installation diagrams use specific symbols and notations to represent various components and connections․ These symbols are standardized to ensure clarity and consistency․ The most common symbols include those for solar panels, inverters, batteries, charge controllers, and electrical panels․ Arrows indicate the flow of electricity, while lines represent wiring connections․ Dotted lines often signify data or communication links between components, such as between the inverter and a monitoring system․ Symbols for circuit breakers and fuses are also included to highlight safety measures․ Notations like “DC” and “AC” distinguish between direct and alternating current flows․ Labels such as “Positive” and “Negative” terminals are essential for proper wiring․ Color coding may be used to differentiate between live, neutral, and ground wires․ Understanding these symbols is crucial for interpreting the diagram accurately․ They provide a universal language, allowing installers to follow the layout and connections without confusion․ By familiarizing oneself with these notations, the installation process becomes more straightforward and less prone to errors․ This ensures a safe and efficient solar panel setup․
Importance of the Diagram
A solar panel installation diagram is an essential tool for ensuring a safe, efficient, and compliant setup․ It serves as a visual blueprint, outlining the entire system’s layout, from solar panels to inverters, batteries, and electrical connections․ This diagram is critical for identifying potential issues before they arise, such as wiring errors or mismatched components․ By following the diagram, installers can avoid safety hazards like short circuits or improper grounding, which are vital for protecting both people and equipment․
The diagram also ensures compliance with local electrical codes and regulations․ Many jurisdictions require a detailed installation plan before granting approval, and the diagram serves as a key document for inspections․ Additionally, it acts as a guide for future maintenance or upgrades, helping technicians understand the system’s structure and modifications over time․ This reduces downtime and costs associated with troubleshooting․
For DIY enthusiasts and professionals alike, the diagram simplifies the complex process of solar panel installation․ It provides a clear roadmap, making it easier to understand how components interact and how energy flows through the system․ Without a diagram, the risk of errors increases, potentially leading to system inefficiency or even complete failure․ Therefore, it is a cornerstone of any successful solar panel installation, ensuring reliability, safety, and optimal performance․
Step-by-Step Installation Guide
Begin with planning and site assessment, ensuring optimal panel placement․ Identify components like panels, inverters, and mounting hardware․ Follow the diagram to connect wiring securely, mount panels at the correct angle, and link to the electrical system․ Test the setup to ensure proper function and safety before finalizing the installation․
Planning and Preparation
Planning and preparation are critical steps in solar panel installation․ Start by assessing your energy needs and evaluating your site’s suitability, considering factors like sunlight exposure, roof orientation, and structural integrity․ Review the solar panel installation diagram to understand the layout and components required․ Measure your roof’s dimensions to determine the optimal placement and angle for maximum energy efficiency․ Ensure compliance with local building codes and regulations, and obtain necessary permits before proceeding․ Budgeting is also essential, as costs can vary based on system size and quality․ Research incentives and rebates available in your area to offset expenses․ Gather all necessary tools and materials, referencing the diagram for specific requirements․ Conduct a technical site survey to assess shading issues and roof quality, ensuring a stable foundation for your solar array․ Finally, create a detailed installation schedule to organize the process efficiently․ Proper planning ensures a smooth and successful installation, maximizing your system’s performance and longevity․ By meticulously preparing each aspect, you set the foundation for a hassle-free solar panel setup․