Aperture is a fundamental element in photography, controlling the amount of light entering the lens․ Measured in f-stops, lower values open the lens wider, allowing more light and a shallower depth of field, while higher values reduce light entry and increase depth․
What is Aperture?
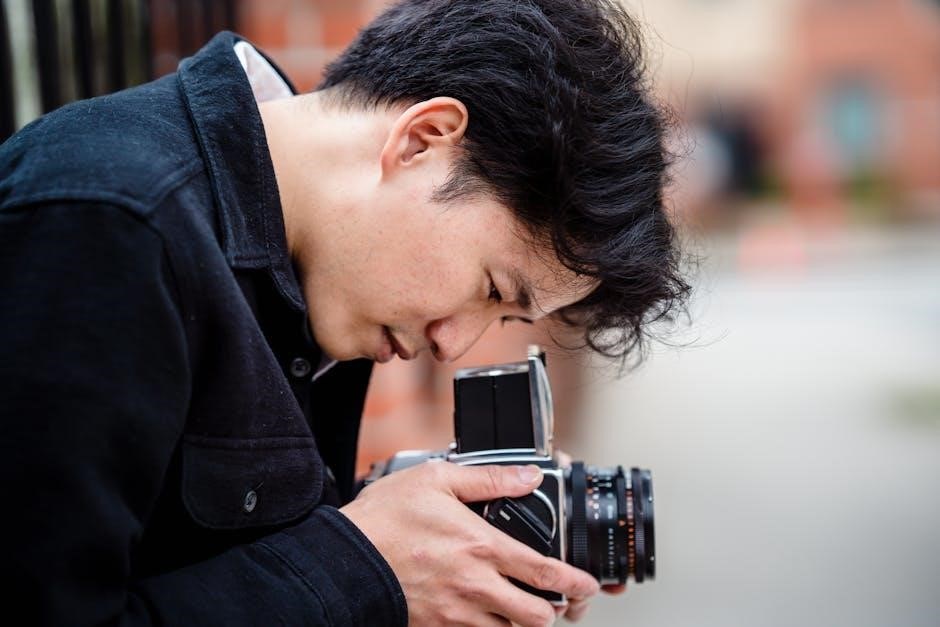
Aperture refers to the opening in a camera lens that regulates the amount of light entering the sensor․ Measured in f-stops (e․g․, f/2․8 or f/16), it determines how much light reaches the sensor․ A lower f-stop value indicates a larger aperture, allowing more light and creating a shallower depth of field, while a higher f-stop value means a smaller aperture, letting in less light and increasing depth of field․ Aperture is a critical component of the exposure triangle, alongside shutter speed and ISO, and directly impacts the aesthetic and technical aspects of a photograph․
Understanding F-Stops
F-stops are numerical values representing aperture sizes, controlling light entry and depth of field․ Lower f-stops (e․g․, f/2․8) indicate larger apertures, allowing more light for brighter images and shallower focus, while higher f-stops (e․g․, f/16) mean smaller apertures, less light, and greater depth of field․ Each f-stop change halves or doubles the light intensity, enabling precise control over exposure․ This relationship is vital for balancing the exposure triangle and achieving desired visual effects in photography, as outlined in the aperture, shutter speed, and ISO chart, which simplifies understanding these interactions for photographers of all levels․
Aperture and Depth of Field
Aperture directly influences depth of field, which is the area in focus within an image․ A wide aperture (low f-stop) creates a shallow depth of field, blurring the background and emphasizing the subject․ Conversely, a narrow aperture (high f-stop) results in a deep depth of field, keeping both foreground and background in focus․ This relationship is crucial for compositional control, allowing photographers to guide viewer attention․ The aperture, shutter speed, and ISO chart provides a visual guide to understanding these interactions, helping photographers make informed decisions for desired effects in various genres, from portraits to landscapes, ensuring precise control over focus and blur․
Shutter speed controls the duration the camera’s shutter remains open, affecting motion capture and exposure․ Faster speeds freeze action, while slower speeds create motion blur, enhancing artistic effects․
What is Shutter Speed?
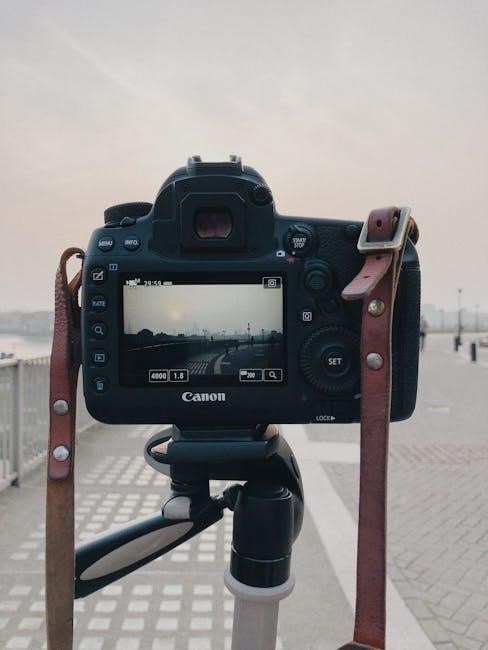
Shutter speed refers to the duration the camera’s shutter remains open, measured in seconds or fractions of a second․ It regulates the amount of light entering the sensor and significantly impacts the visual effects of motion․ Faster shutter speeds, like 1/1000th of a second, freeze action and reduce blur, ideal for capturing sharp images in bright conditions or sports photography․ Slower speeds, such as 1 second, create motion blur, adding artistic effects to moving subjects․ Properly adjusting shutter speed is crucial for achieving desired results, balancing exposure, and controlling the aesthetic of the image․
Measuring Shutter Speed
Shutter speed is measured in seconds or fractions of a second, with common values ranging from 1/8000th of a second to 30 seconds․ Faster speeds, like 1/2000th, are used to freeze motion, while slower speeds, such as 1 second, create blur․ The measurements are typically in whole or fractional stops, where each stop doubles or halves the exposure time․ For example, moving from 1/100 to 1/200 halves the light, while 1/100 to 1/50 doubles it․ This incremental system allows precise control over light exposure and motion capture, essential for achieving desired photographic effects․
Effects of Shutter Speed on Motion
Shutter speed significantly impacts the depiction of motion in photography․ Faster speeds, like 1/2000th of a second, freeze action, capturing sharp images of moving subjects, ideal for sports․ Slower speeds, such as 1 second, create motion blur, conveying movement and artistic effects․ This duality allows photographers to either halt or emphasize motion, offering creative control over dynamic scenes, from blurred waterfalls to sharp wildlife shots, making shutter speed a crucial tool in capturing the desired visual effect․
ISO measures the camera sensor’s sensitivity to light․ Lower ISOs (100-400) suit bright conditions, minimizing noise, while higher ISOs (800-6400) are used in low light, capturing images with more grain but allowing faster shutter speeds and smaller apertures․
What is ISO?
ISO refers to the sensitivity of the camera’s sensor to light․ It determines how much light is required to capture an image․ Lower ISO values (e;g․, ISO 100) indicate lower sensitivity, suitable for bright lighting conditions, while higher values (e․g․, ISO 6400) indicate higher sensitivity, ideal for low-light environments․ Adjusting ISO allows photographers to control image brightness without changing aperture or shutter speed․ Understanding ISO is crucial for balancing the exposure triangle, as it directly impacts image quality, with higher ISOs potentially introducing noise or grain, especially in darker settings․ Proper ISO selection ensures optimal results across various lighting conditions․
How ISO Affects Image Quality
ISO significantly impacts image quality by influencing noise and grain․ Lower ISO settings (e․g․, ISO 100-400) produce cleaner images with minimal noise, ideal for bright conditions․ Higher ISOs (e․g․, ISO 6400-51200) increase sensitivity but introduce visible grain, potentially degrading sharpness and detail, especially in low-light scenarios․ While higher ISOs allow for proper exposure in dim lighting, excessive noise can compromise image clarity․ Balancing ISO with aperture and shutter speed is key to maintaining image quality while achieving desired artistic effects․ Understanding this relationship helps photographers make informed decisions to optimize their results across various lighting environments and creative goals․
ISO and Lighting Conditions
ISO settings are closely tied to lighting conditions, dictating how sensitive the sensor is to light․ In bright environments, lower ISOs (e․g․, ISO 100-400) are ideal, capturing sharp images with minimal noise․ In low-light conditions, higher ISOs (e․g․, ISO 6400-51200) are necessary to ensure proper exposure, though they may introduce grain․ Using the ISO, aperture, and shutter speed chart helps photographers select optimal ISO values for various lighting scenarios, ensuring well-exposed images while minimizing noise․ This balance is crucial for achieving professional-quality results in both natural and artificial light settings, enhancing overall image clarity and aesthetic appeal․
The Exposure Triangle
The Exposure Triangle balances aperture, shutter speed, and ISO, guiding photographers to achieve optimal light control and desired effects in their images using the provided chart․
Balancing Aperture, Shutter Speed, and ISO
Balancing aperture, shutter speed, and ISO is crucial for achieving proper exposure․ Aperture regulates light entry, while shutter speed controls exposure duration, and ISO adjusts sensor sensitivity․ Adjusting one setting impacts the others, requiring careful consideration․ For instance, opening the aperture (lower f-stop) increases light, so faster shutter speeds or lower ISOs may be needed to maintain balance․ Conversely, in low light, raising ISO or slowing shutter speed compensates․ The chart provides a visual guide to harmonize these elements, ensuring images are well-exposed without excessive noise or motion blur, while maintaining desired artistic effects like depth of field or motion capture․
Understanding Stops and Exposure Compensation
A “stop” in photography represents a change in exposure, doubling or halving light․ Aperture, shutter speed, and ISO each adjust in stops․ Exposure compensation corrects images by adjusting brightness, measured in stops, to achieve desired results․ The chart simplifies this by visually linking aperture, shutter speed, and ISO stops, helping photographers balance settings without trial and error․ Understanding stops enables precise control over lighting and artistic effects, ensuring well-exposed images with intended depth of field and motion capture․
Practical Applications of the Chart
The chart aids photographers in balancing aperture, shutter speed, and ISO for optimal exposure across genres like portraits, landscapes, and action photography, enhancing creative control and precision․
Using the Chart for Different Photography Genres
The chart is versatile, aiding photographers across various genres․ For portraits, it helps select wide apertures to blur backgrounds, while for landscapes, narrow apertures ensure depth․ Action photography benefits from fast shutter speeds to freeze motion, as indicated in the chart․ Night photography often requires higher ISOs and longer exposures, which the chart simplifies․ By aligning settings with creative goals, photographers can achieve optimal results tailored to their subject matter, ensuring proper exposure and artistic intent are balanced effectively․
Examples of Aperture, Shutter Speed, and ISO Combinations
For a sunny day, use f/2․8, 1/1000th sec․, ISO 400 for bright, detailed images․ Indoors, try f/4, 1/125 sec․, ISO 800 to balance light and reduce noise․ In low-light conditions, opt for f/1․8, 1/50 sec․, ISO 6400 to capture sharp images handheld․ For wildlife or sports, f/5․6, 1/2000th sec․, ISO 400 ensures sharp action shots․ Landscapes often benefit from f/16, 1/30 sec․, ISO 100 for deep focus and minimal noise․ These combinations provide practical starting points, helping photographers adapt to various lighting scenarios and creative goals effectively․
Downloading and Printing the Aperture Shutter Speed ISO Chart
The chart is available as a free PDF download, offering a comprehensive guide to aperture, shutter speed, and ISO settings for quick reference and printing convenience․
Why Use a PDF Format?
PDF format is ideal for the aperture, shutter speed, and ISO chart due to its universal compatibility and high-quality resolution․ It ensures that the chart retains its layout and clarity across different devices, making it accessible on computers, tablets, and smartphones․ PDFs are also easily printable without loss of quality, allowing photographers to carry a physical copy for quick reference․ Additionally, PDFs are password-protected and virus-free, ensuring the document’s safety and integrity․ This makes it a reliable choice for photographers seeking a durable and portable reference guide․
Step-by-Step Guide to Using the Chart
- Download the PDF chart and print it for easy access․
- Understand the layout, which includes aperture, shutter speed, and ISO scales․
- Determine the lighting conditions of your scene to select appropriate settings․
- Adjust aperture, shutter speed, or ISO based on the chart to achieve balanced exposure․
- Use the chart to experiment with different combinations for desired effects․
- Refer to the chart regularly to refine your skills and consistency in photography․
This guide helps photographers of all levels master the exposure triangle efficiently․
The Importance of the Chart for Learning and Reference
The chart simplifies complex photography concepts into a visual guide, aiding learning and quick reference․ It helps photographers understand the exposure triangle and make informed decisions efficiently․
How the Chart Simplifies Photography Basics
The chart offers a clear, organized way to grasp the exposure triangle․ By visually mapping aperture, shutter speed, and ISO, it helps photographers understand their interplay․ This tool simplifies complex relationships, making it easier to balance settings for optimal exposure; It also provides quick reference points, such as whole and third-stop increments, allowing photographers to adjust settings without confusion․ Novice photographers benefit from this visual aid, as it breaks down technical concepts into digestible information, fostering a deeper understanding of photography fundamentals and enabling better control over image capture․
Using the Chart as a Quick Reference Guide
The chart serves as an invaluable quick reference guide for photographers, enabling fast and informed decisions․ It simplifies the process of balancing aperture, shutter speed, and ISO by providing a visual map of their relationships․ Photographers can quickly identify the right f-stops, shutter speeds, and ISO values for various lighting conditions․ The chart also clarifies stop increments, making it easier to adjust settings․ Whether shooting portraits, landscapes, or action shots, this guide helps photographers make rapid adjustments, ensuring optimal exposure and desired effects․ Its portability and ease of use make it a must-have tool for both beginners and professionals․